Current Projects

Wednesday, July 19, 2017

HSM 2017: #4 Circles, Squares, and Rectangles - Pirate Shirt


The challenge: #4 Circles, Squares, and Rectangles

Material: 100% cotton

Pattern: Simplicity 4923 View E

Year: Nonspecific 18th century, but it’s intended for a costume based on the early 18th century c. 1720s-1740s

Notions: thread

How historically accurate is it?: Maybe 50/50, but the accurate half is pretty decent.  I’ve heard good things about the pattern from people who know more about it, and the material is a natural fiber.  The thread was poly though, and it was all machine sewn except for handstitching the inside edges of the collar and cuff.

Hours to complete: I didn’t really keep track (bad habit), but I worked on it intermittently for a few days.

First worn: Pirate Invasion 2017

Total cost: The fabric was a sheet that I think was $2-3, and I got the pattern on sale a few years ago.

...........................................................................................................................................................................

First step towards piracy is shirts.

It’s pretty basic, and having a pattern to follow made it even easier.  I did do a few alterations though.  It was cut in size small, and the torso front and back were shortened about 3” and the sleeves shortened by 1.25”.  I initially did collar interfacing as instructed, but it made the collar kind of wonky (it felt too stiff and puffy, and didn’t lay right).  So I ripped the interfacing out and skipped it on both the collar and cuffs.  I didn’t think about the length of the neckline slit before I marked and cut it, so it ended up way too deep for me and I whipstitched the bottom 4” closed.  I also did some extra topstitching just because.

Despite being so simple, or maybe because of that, this is actually one of my favorite things I've sewn in a long time, and it's refreshing to finish something that I don't see a million flaws in.

Tuesday, June 13, 2017

Indiana Jones and the Last Crusade - Grail Diary Part I

I've had the materials for this for months, but never got around to starting it because it's new crafting territory and I'm chicken.  With a few other prop projects on hold and not in the mood to sew, last weekend was a good time to finally get to it.

The plan is to do one “batch” of more or less the correct pages, and then instead of repeating those pages, create my own in the same style using other medieval history and Grail lore to fill up the rest of the book.

I started with a hardcover unlined sketchbook, about 4x6”, 220 pages, so a pretty close match for size (or close enough for my purposes).


I sanded the cover, then peeled off the endpapers and removed the pages from the inside.


From there I followed this Instructable for the new leather cover, jumping ahead to step 7. I was surprised how fun and easy it was, and I wish I hadn't put it off for so long.


Once the cover was on and everything was reassembled, I took a little leather polish to the cover to bring some of the color back. (The weird stripes are from the light coming through blinds, not part of the leather.)

Now just waiting on endpaper which hopefully will be here in a week or so. 

Monday, June 5, 2017

Hamilton - King George Crown / Collar Part II

I did a bit more work on the crown last week (and now that the semester is over I'm hoping to have more time to devote to this regularly, even with other projects).  The two-piece plastic ball I bought for the top came with the wrong pieces (both sides had the solid edge, instead of one side solid and one side recessed so they fit together), so I glued a strip of felt to the inside of one half and then glued and smooshed (technical term) the other side on, plus added a little extra glue around the loop piece.  There’s a strip of trim that eventually goes on the outside that’ll help reinforce it too.

I figured out an assembly method and process for the cross at the top, so I finally put together all the little bits that go into that.  I traced one of the cross prongs onto a scrap piece of the same plastic and cut it out with an extended section running out of the bottom.  That little extension will eventually go into a slot in the plastic ball to secure them together.  For the beads I measured out two pieces of wire: one to run horizontally with the side beads and pearls, and one to run vertically with the top bead.
The extension piece and wires are glued between the front and back cross pieces.  I still need to sand down some of the edges so they’re all even, and if I need to I’ll fill in any gaps between them with more glue later.  Fun fact: if you’re too cheap/lazy/busy to get clamps like I was (or I guess if you’re just working on something really small), bobby pins work really well.

There ended up being a weird little soft spot on one side where the glue warped the plastic, but it’s not too noticeable and everything else seems fine, so I’ll probably just fill it in with a little Bondo.

Around the brim, to help disguise the extension pieces I cut and glued a little piece in to the gap.

Then I glued the ball chain trim onto the back of the plain horizontal strip and started gluing the plain horizontal strip to the cross strip.  But I ran into some trouble at that point.

I had tested the plain strip around the cross strip earlier pre-trim and it sat correctly, but I hadn’t thought about the extra bulk the trim’s tape would add between the layers.  The tape is about 1/2” wide so it only covers half of the plain plastic strip, so gluing the trim tape flush on the cross strip made a gap between the strips at the base.  Trying to force that gap closed made the plain strip shift or ripple, and the whole thing just didn’t want to go together.  By then the trim was starting to peel off - I used hot glue for speed/ease, but the trim’s tape didn’t like it - so I pulled the strip off the crown and the trim off the strip, chucked the strip, and started over.

I glued the trim to a new strip, with E6000 this time like I should have done in the first place, and then glued the strip back to the crown, only making the back of the trim tape flush with the crown and leaving a gap at the base of the strips.
It seems to be holding okay so far, so I haven’t decided what if anything to fill in the gap with (any kind of glue that’s working on the plastic and worth using is too thick to get into the gap easily on its own, so I’m currently considering some glue-coated chipboard coated that can just slide in and hold the glue against the plastic while it sets).

In the meantime, I finished the collar bows and started painting those, the star, and the medallions.  I did a primer/base with Krylon Dual Superbond in black, a light coat of Ace Metallic in mirrored gold, a top coat of Krylon Premium Metallic in 18kt gold, and sealed with Krylon Crystal Clear.

I’m not happy with the finished result - the tone of the color is decent but it’s not as bright or shiny as I want - so I’m looking at some liquid leaf paints and waiting to do any more work on these until I can get the right bright brassy yellow gold.

Wednesday, May 24, 2017

Hamilton - King George Star Part I

I’ve been working on the crown and livery collar since about January, but it’s a long haul.  So I figured I’d also work on something smaller and easier that I could finish in the meantime: the star badge thing on the suit.

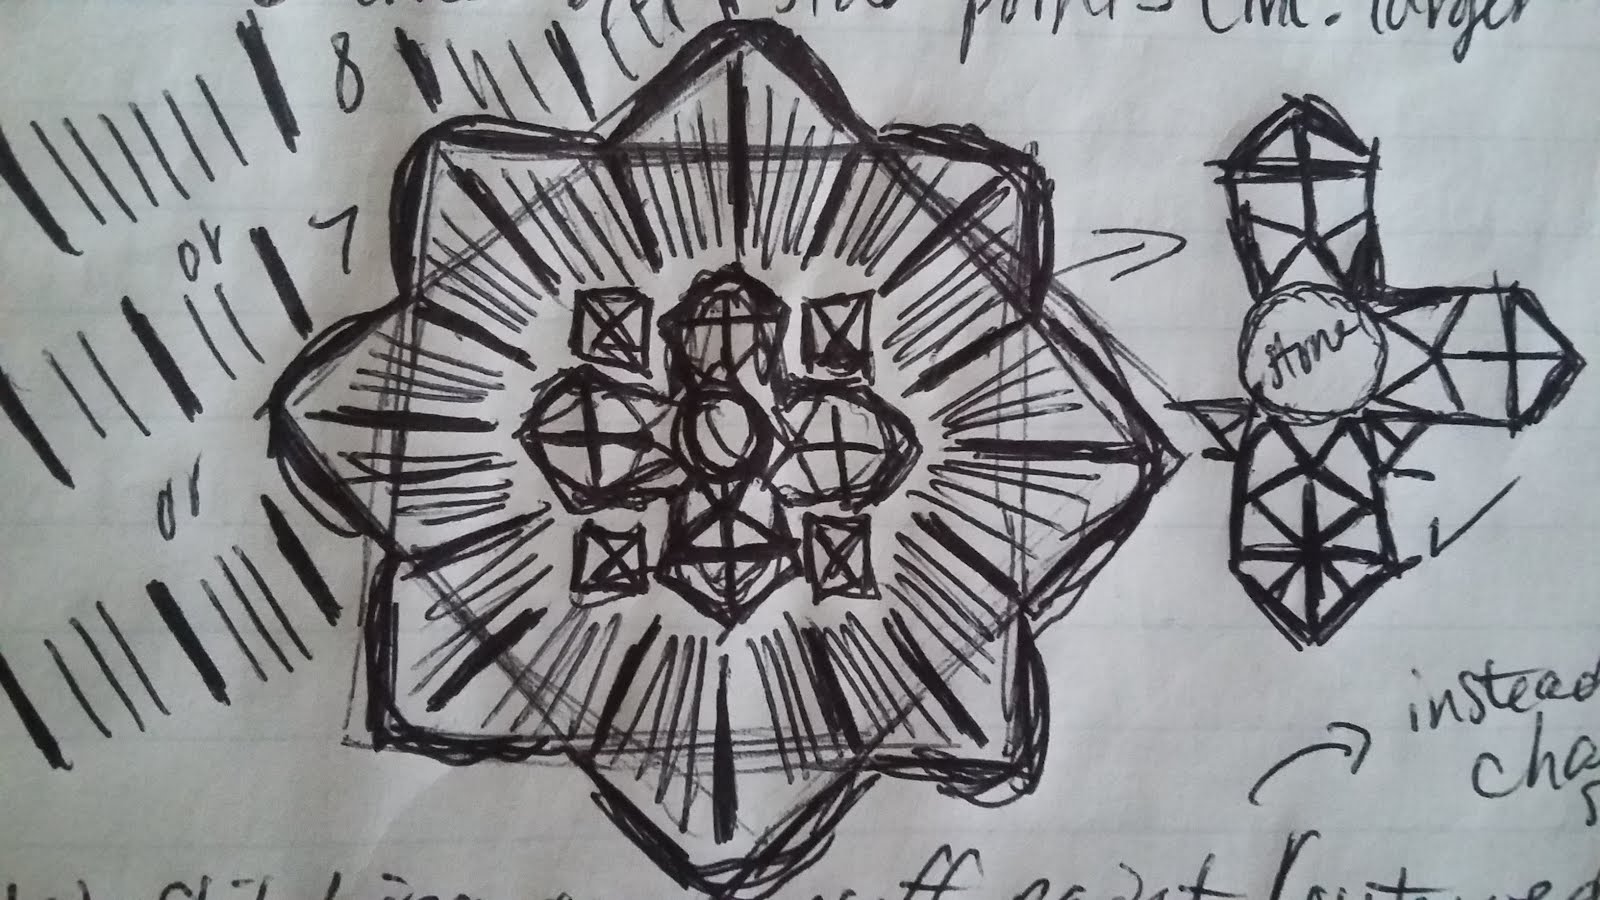
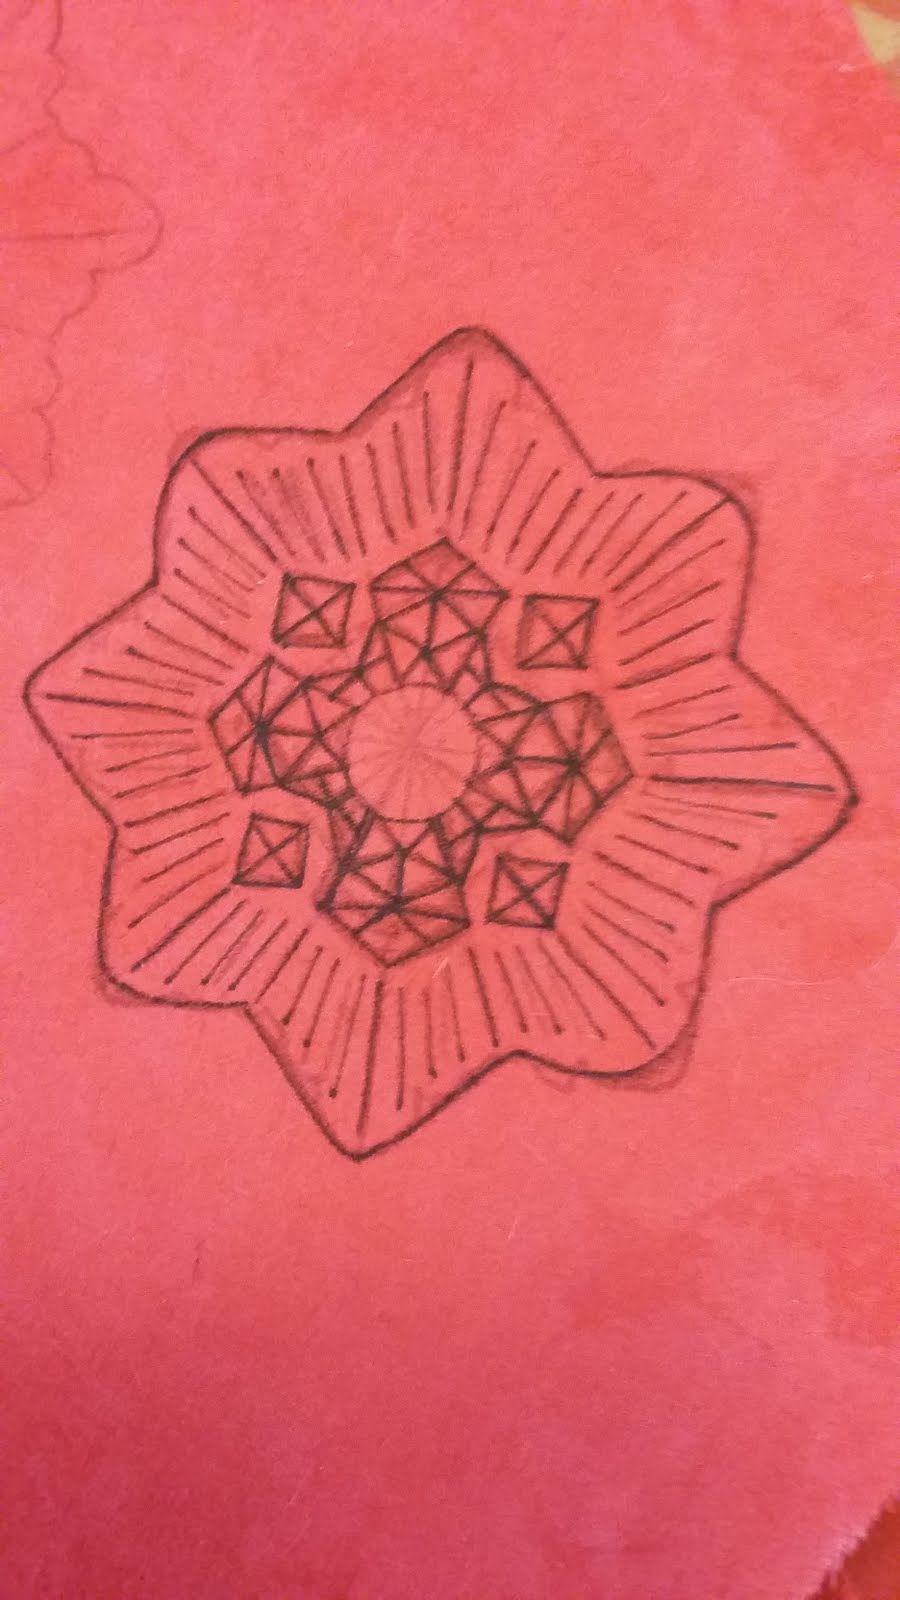
The star looks to be about palm-sized (3” for me), stitched all in silver except for four little squares in gold, and in the center a stone to match the ones on the livery collar (for my purposes, an 11mm red cabochon in a gold high-wall setting).

Because it worked well last time, I’m reusing the basic process from the chest star on my TFA Rescue Cap.  This'll just be a little more challenging since it's stitching *on* tiny lines instead of filling in large gaps between lines.  I did some layout sketches and notes to get an idea of the design, and then cut out a round of felt (for the base) and fabric (for the top) just big enough to fit the embroidery hoop. 
Ideally I would have used red fabric, but I didn’t have any in my stash.  What I *did* have was red fabric paint and cotton scraps so I just used that instead.  Once that was dry and heat set, I drew on the design (partly traced from the collar’s similar eight-point star piece) and popped it in the hoop. 
Some of the stitches, especially on the smaller inner star, look like *actual* embroidery stitches like a chain stitch, but I’m just doing a very basic in-an-out stitch for the sake of ease.

Hopefully I'll start embroidering in the next few days.

Wednesday, May 17, 2017

Pirate Shenanigans - Planning for Pirate Invasion 2017

Plans for the upcoming Pirate Invasion this summer are getting me through finals right now.  We're a little pirate (and generally 18th century) obsessed so attending is a must, and of course we have to put together some pirate get-ups for the occasion.  We're planning to do Jack Sparrow and Norrington costumes someday, so we'll be using this as an excuse to get parts of that done.  Until we do those actual costumes, we can use the pieces for pirate characters inspired by (but not necessarily specifically accurate to) Pirates of the Caribbean, with a little inspiration from Black Sails thrown in for good measure.

I don't really do character identities/backgrounds for costumes - I rarely need them as I usually recreate existing characters/costumes instead of making original ones.  But in this case, coming up with a character has been helpful for establishing a direction to take the design in.  I ended up with partly a genderbent Rule 63 Norrington circa Dead Man's Chest, and partly Norrington's theoretical lady-pirate nemesis inspired by the officer-pirate relationship in Kate Beaton's hilarious "Nemesis" comics.  I'll be attempting Norrington's "Scruffington" vest and breeches from Dead Man's Chest (pending time and the right fabric), plus making his formal cocked hat from Curse of the Black Pearl (using last year's HSM cocked hat as a base, which is really appropriate thematically), a Norrington mini portrait like the ones I did of Marie Antoinette, and a "nemesis" mini portrait based on the one in Beaton's comic.  I'm also in the process of modifying some Pirates-themed checkers pieces into the Aztec coins from Curse of the Black Pearl.

My friend is making a Davy Jones-inspired cocked hat, along with her requisite Jack Sparrow pieces - namely some combination of the bandana, belts, rings, and sash for now.

Other than that, we'll both be doing the general pirate-y shirts, breeches (or improvised pajama pants patterns), boots, sashes, bandanas, and a ton of jewelry.

So far it's been a fun experiment in picking away at planned costumes, doing some original designing, and getting to dabble in historical costuming again.

Thursday, May 11, 2017

Hamilton - King George Crown / Livery Collar Part I

Starting a little recap on the work finished so far on King George III.

The very first thing I bought was a large plastic “for rent” sign for the crown.  I don’t remember the total dimensions, but the long edge was 24”.  I wanted strength and flexibility, without the cost/hassle/weight of metal.  To make a pattern, I found some decently high-res photos that allowed me to zoom in to about life-size (which I gauged by roughly comparing my eye measurements to his in the photo), and from there I measured EVERYTHING: widths, heights, angles, distances between pieces, etc.  Using the measurements and the same photo references I drew a pattern for all the pieces and cut them from the plastic sign.  After I tested them on my base hat, I realized the sheet wasn’t quite long enough for the length of the horizontal sections that go around the head, so I went back and cut some extensions for those pieces.
Crown pieces

I ended up with a bunch of 1” strips (two for the arched vertical strips, one for the horizontal strip, a shorter horizontal extension, and extras), the horizontal cross/fleur strip plus extension, and two 2.25” crosses for the top of the crown.

All the edges and surfaces were sanded to remove burs and prep for glue/paint.

I've also ordered a TON of various beads and filigrees and gems and rhinestones that go all over the crown - 17 different kinds so far.  As they've been arriving I've been doing some mockups on the pattern pieces to test sizing and get an idea of how it'll look.  I'll go into more detail once I have them all and start gluing them on. 
Crown top cross
Crown band cross
Testing various things and figuring out the logistics of assembly (mostly in what order) took a while, but last week I finally glued the cross extension in to the horizontal cross/fleur section with E6000.

I’ve also finally figured out assembly on the cross and pearls for the top, so that’ll probably be next.

For most of the collar it was easy to find various metal jewelry-making pieces, but the eight-point star and Maltese cross in the center were more particular so I had to do those partly from scratch.  I patterned and cut them the same way and at the same time I did the crown pieces.
Collar star pieces
I did manage to find a die cut paper star that was the right size and shape, so I bought that as both a pattern to cut the plastic from and a top layer to add in the detail (saving me the trouble of etching the plastic; essentially the plastic is just a thick reinforced backing).  I didn’t take a photo of the star before I started assembling, but this is the seller’s photo of the whole sheet (I used the bottom left).  It’s neat stuff.
Via
The small little bits in the center were just guesstimated and improvised from the shapes in the reference photos, and those were glued to the cross with E6000.  The paper star, plastic star, and cross were all attached with either hot glue or E6000 (had them both out at the time, and now I don’t remember which I used for that).  The cross has a slightly raised edge, which I did with puff paint.

The medallions on his collar look sort of tiered, so I planned to buy large flat settings for the base, medium raised/detailed settings to go over that, and small settings for the red stones in the center.  The first large settings I bought didn’t work (they were solid so punching holes for rings was a hassle), so I bought replacements that had looped edges and better surface for gluing.
Top left: original 38mm setting.  Top right: new 38mm setting.  Bottom: 30mm detail setting.
30mm detailed settings, 38mm flat looped settings, 11mm cabochons, 11mm cab settings.
The large and medium settings were glued together, and the stones were glued into their settings, all with E6000.  I’m still deciding whether or not to paint the settings gold to match the bows I’m making/painting, so for now the large/medium pieces are partly taped over and separate from the stones.
Red cabs glued into their settings, and 30mm settings glued to the 38mm.

The bows were shaped by hand from twisted picture-hanging wire (the kind that comes in the little packages with screws and stuff).  I did more measurements from the same zoomed-in crown/collar photo and drew out a pattern, and I laid the wire over that pattern as I shaped it.  The loops and upper tails are one piece and the center tails are a separate piece, attached to each other with thin wire for now.  Once they’re all done I’ll remove the wire, glue the pieces with E6000, and then rewire a little more neatly/lightly.
 
Painting on everything (both crown and collar) is just waiting on getting a clear coat and testing it with the paint I already have.

Monday, May 1, 2017

Hamilton: An American Musical - King George III

Post-draft edit: I was going to wait a while to post this, but yesterday I scored tickets for the LA tour of Hamilton! (!!!) So it seemed a good time to put it up.

This is the last thing I need to be doing, but I couldn't resist, so for a few months now I've been picking away at the beginnings of a King George III from Hamilton: An American Musical.  To go with I'll be making my friend an interchangeable Hamilton and Washington (the basic uniform costume is the same, just adding a hat/sash/epaulettes for Washington).  There are a few events I'd love to wear this for (next year's Costume College Gala and Labyrinth of Jareth, namely), but for now I'm just working casually at an easy pace with no deadline.  So much is going to go into these, I think that's the only way I'll be able to afford the time and money anyway.  For the same reason, I’ll be doing it in stages: first the accessories (crown, livery collar, chest star, garter), then the suit, then the cape (or maybe cape then suit, as the cape is easier overall).

The costume details vary a little between which year and show they’re from (different suit buttons, shirt lace, shoe buckles, crown details, etc.), but I mainly worked from these photos so those were the styles I went with, and when details conflicted I chose my favorite version.

I started with research strictly on the Broadway costume, but moving into historical research it didn’t take long to find some of what must have been the inspiration for the show’s pieces.

The whole costume is very spot-on to full-regalia King George.

Via
Via
The crown is clearly based on St. Edward’s Crown.
Via
The livery collar, chest star, and garter are reminiscent of the insignia of the Order of the Garter and various other orders of chivalry.
Via
The cape is a close match to King George III’s coronation robe and robes of state.
Via
Via
And the suit bears strong similarities to a few specific men’s suits of the period.
Via
Via
Via

I’ve already started on the crown, livery collar, chest star, and garter, so I’ll recap those first and get caught up to in-progress work.