Current Projects

Saturday, October 27, 2018

French Revolution Zombaes - Finished!

As per usual, I fell behind on documenting progress while I was busy making it. To make some attempt at recap...

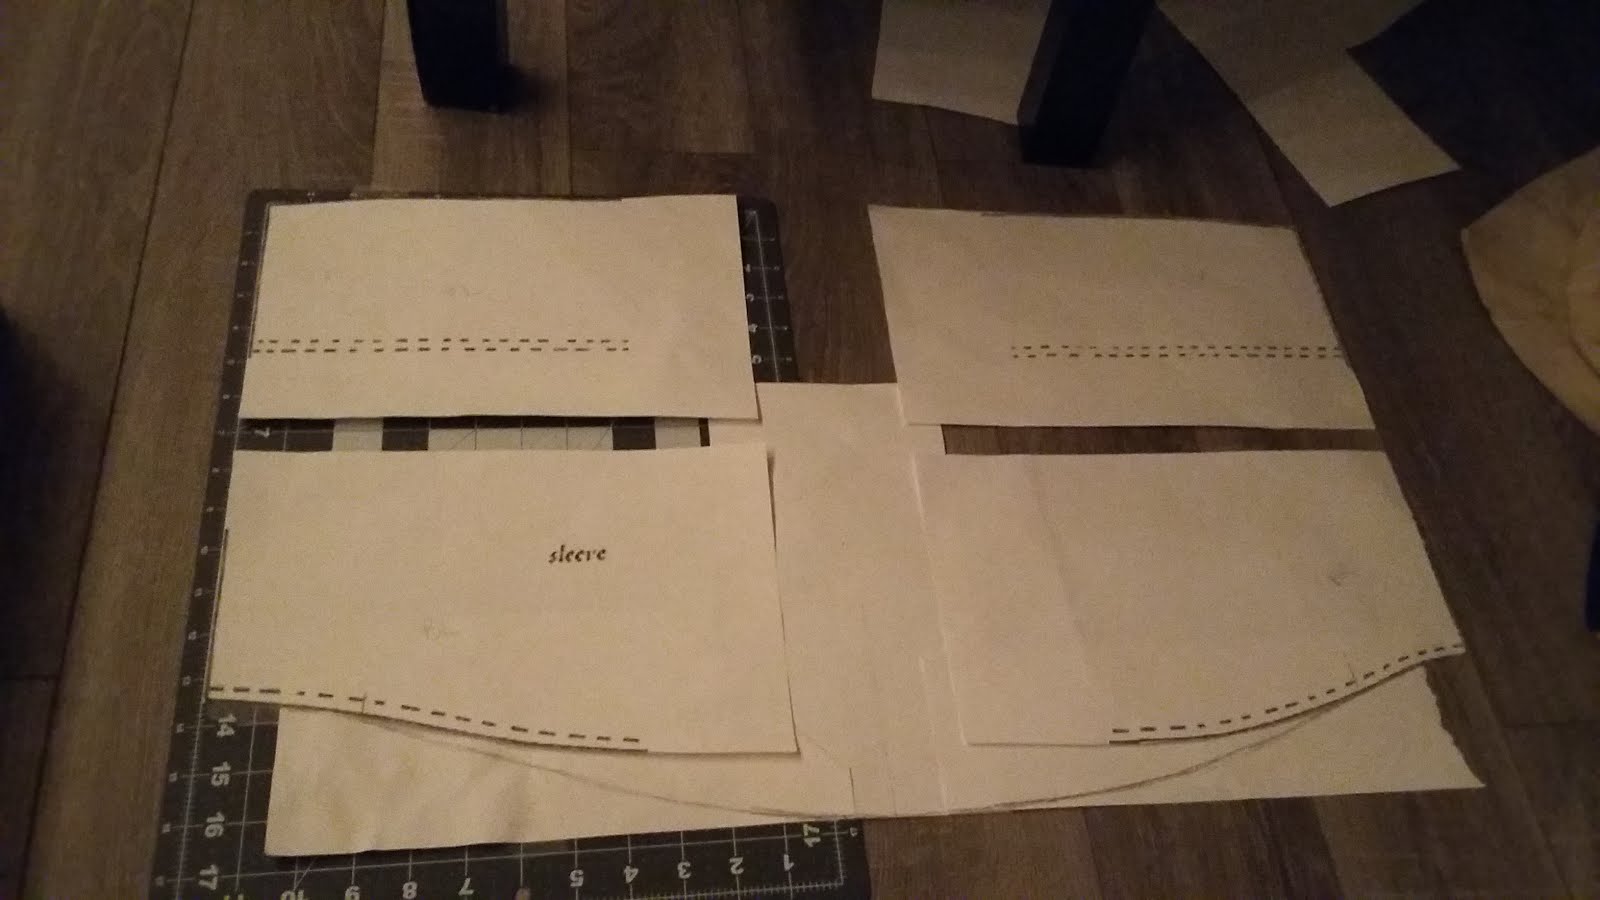
The only photo of the dress construction I have is the sleeve pattern, which was scaled up from the Norah Waugh pattern.

Figuring out patterning and construction on my own was a challenge, and frustrating at times. I'm fairly experienced with sewing, but I still prefer established patterns and instructions that I can modify as needed but have a foundation to refer back to. But it was a really good learning experience, even if I didn't always love it, and it came together wonderfully in the end.

I also made petticoats, roughly following American Duchess's old tutorial. So. Much. Pleating. But it was fun once I figured out the spacing.


We got our stays in plenty of time, and they were incredible! I did a fit/wear test right away and loved it.

As far as finishing a single piece, the wigs were probably the quickest part of the whole costume. I started with the Boogie Babe wig, which turned out to be a great cheap alternative to the Lioness wig so many people use (though I still want to get my hands on one of those someday).


There wasn't much organized method to it. I just separated and broke up the curls, and teased as I trimmed, using historical portraits as reference. I left the lower back at the base of the neck long and straightened then recurled the hair into about six sausage curls. Once styled, the wigs were sprayed with silver and then white hairspray from a party store. Since we were blending our real hair into the wig to hide the hairline, we needed something heavy to help cover and blend the different real versus fake hair colors. The silver was more opaque, so it did a pretty good job of this (though we didn't spray quite enough on our own hair the night of), but it was very silver. The white over the top helped hide it and soften everything, but some still showed through. It didn't wreck the look, and it worked okay with the ghostliness and the silver jewelry, but it wasn't what I intended. The white on its own looked great and actually replicated the look of powder really well, so that's something I'll be doing on other 18th century wigs in the future.


I don't really have any photos of them, but the "mitts" were $1 knee-high stockings bought just a day or two before the event. Everything else struck out, and they were a lifesaver. I literally just cut finger holes, and the tears and runs that developed just added to the creepy ghost/zombie theme.

And that's pretty much it!
With our awesome new friend, Lady Toxie.


A lot of stuff came down to the wire, we got a later start than we intended, and we went down to the party a few hours late. But it got done and we wore it and it was awesome! For being such an elaborate and fussy looking finished product, they're ridiculously comfortable. Even in the the short time we were there, a lot of people loved our costumes, and a surprising number actually got the whole theme. Seeing their eyes go wide with recognition was really gratifying. We got a lot of compliments on the wigs, too, which was great. We're definitely busting these out again. On these in particular, we're going to work on distressing them and making them more zombified (they were more ghoulish/ghostly this time, which actually worked well as its own thing, too). I'm also going to eventually make another set of chemise dresses with the same design and a bit more accuracy to wear to reenactment events.

I'm already on to the next project (big things afoot), so more on that soon!

Sunday, October 21, 2018

French Revolution Zombaes - BLING Part II

The saga continues...

Marie Antoinette mini portraits
I still haven't replaced older Marie's portrait. But I did make other changes to both portraits. To drive home the fact that it's Marie Antoinette and give a more obvious visual connection to royalty, I got some little crown brooches to add on. This was also inspired by royal family orders, which feature a crown above a portrait of the royal/monarch on a ribbon. Beauty From Ashes has great information and tutorials on royal family orders.

I looked for a simple design that was similar to the portrait settings, and it had to have rhinestones of course.
I didn't think to take a photo before doing modifications, so here's the seller's photo. Found here.
Then I lightly repainted them with silver acrylic to tone down the shine and match them to the settings. Luckily, having pin backs already they were really easy to attach, and I can even remove/replace them as desired.

I also added more ribbon, black organza this time, with a bow on the bottom of the setting and a single length across the satin ribbon bows.


"MA" lady-in-waiting badges
These have a place in 18th century history, but not necessarily in France, so they kind of straddle the line of accuracy and artistic license. I based them off the "badges" worn by ladies-in-waiting to female royalty, featuring the woman's jeweled initials on a ribbon bow. The era-appropriate examples I could find were all Russian, but at various times they were used in other countries as well. They have a fun history, and again, Beauty From Ashes talks about them some here in connection to other royal orders. I figured that since France had a cultural influence on Russia, and Russia and Austria had some political connection, and Marie Antoinette was Austrian... well, this wouldn't be too much of a stretch to say it's historically plausible, especially in an unofficial capacity, even if it didn't actually happen.

I got some appropriately swirly and Rococo-ish - and, of course, sparkly - letter brooches in "M" and "A" for the queen's initials.
Seller's photos. Found here.

I also got some more crowns for these, since the badges almost always have them.

I followed Beauty From Ashes's royal order sash tutorial for the bows, making some changes to allow for a better fit on the shoulder. The first layer is a 4" wide loop, the middle layer is a 3.5" loop, and the top is a single layer 3" wide with pinked edges. They turned out a little messy because I was making them quickly last minute, so I'll be going back and redoing them at some point, but they turned out well enough for the night.

Hair doodads
I knew I wanted feathers in the hair almost from the start, and the rest of the ribbons and such to go with it kind of happened as the entire costume got more elaborate. Two ostrich feathers was kind of the benchmark, and initially I was going to do one each of white and black. But I didn't like the asymmetry. So the plan evolved a few times and we ended up with two black and one white.

The "brooch" is the center of the necklaces that I removed when I was modifying them (having swapped them with the actual brooches that I had originally ordered for the hair).  I used strips of the same black fabric from the lady-in-waiting badges to tie everything together.


Sash "Buckle"
Modifying the necklaces left me with four center pieces, and after doing the hair doodads I still had two pieces left. There was really no need to add them to the costume, but at that point I figured I might as well just on principle. The more ostentatious sparkle the better. The only place left to put anything really was on the waist sash, and as luck would have it the necklace pieces were exactly the same length as the ribbon width (3"). I added a pin back to the top and that was that.

Fans
This project was continually evolving, and this whole new detail was thought up just within the last few weeks. I really came to it by thinking of ways to accentuate the French theme, as well as the zombie theme, so I looked up "brains" in French and fell down the rabbit hole.
They might be undead, but they've still got manners.
I needed something for that to be written on, and fans were the most obvious solution. They're a better and more convenient accessory than a sign or something would be, and have the added benefit of being practical.

The fans themselves are the very basic bamboo slat and fabric variety. We went through a ton of handwritten and calligraphy fonts and picked some that were the most suitable for historical context and/or kind of rough. I painted the slats and fabric edge silver, and my friend did all the Photoshop whatnot and painted the text on.


They hang from the waist by a length of black organza ribbon, tied to the waist sash.

Next, the finish line!