I didn't take many photos of construction, partly because I covered the mock-ups so extensively but mostly because I was trying to work steadily and just rarely stopped to document stuff. This is pretty much it for the nightgown.


And of course, there's plenty to tweak on an inevitable Version 2.0. I ended up doing gathering instead of pleating around the neckline. Pleating would have been more accurate and a bit nicer looking, but I didn't want to take the time to do that. The gathering also affected the sleeve head more than I thought it would, so the armpits ended up a little tight and in theory should be opened up some. With the thinner fabric, the sleeves didn't have quite the fullness and drape I intended and that the mock-up had, so I'd change that. I also melted a hole in part of one sleeve, like a moron, so I kind of have to go back and tweak the sleeves someday anyway. I started on the ribbon ties at the front but after the first row I decided I wanted to do it differently, and it still needs lace, but that's a last minute handsewing bit.
As far as the robe goes, that was pretty much a quick no-photo job too, though I did take a few of stuff that didn't really go through the mock-up phase.
On the back panel, I cut out the sides and top with the pattern piece but left it the full 60" of the fabric, and all of that became the pleats. Despite the panel being so wide, the edges were still just strictly vertical, eliminating the pattern's flared hem. So I used the flared edge of the back pattern piece to make an additional triangular gusset of sorts which was stitched in as a side panel, restoring the flare. I draped the pleats on the dressform, kind of by eye and with a little measuring. I ironed them well from the neckline to about the waist, and then lightly pressed less pronounced pleats for a few inches below that so the pleats flowed somewhat more naturally into the unpleated lower section. I also did some quick and dirty handstitching along each pleat (mostly inside, but a little outside) to hold the pleats down at the upper back where they needed to be the most defined and stay immobile.


I bound the sleeves and robe front with the same fabric to create a trim and finish off the edges. It's a lot of placing and folding and flipping over, basically like this, if anyone is interested and can decipher my terrible reference photos:

And with everything sewn, it was pretty much here.


I didn't get any photos of the dyeing process because it was messy and kind of nightmarish, but I did think to take this photo the night before the convention. It ended up being the process and colors/materials I planned on, but it also ended up being a mistake, so someday I'll wash it out and redo with something like Dye-Na-Flow or fabric paint (sacrificing a little on color accuracy for the sake of ease).

I didn't get any of the vest in-progress either because that was a quick rush job a few days before we were wearing them, but I'll hopefully be documenting the second vest and white ghost vest.
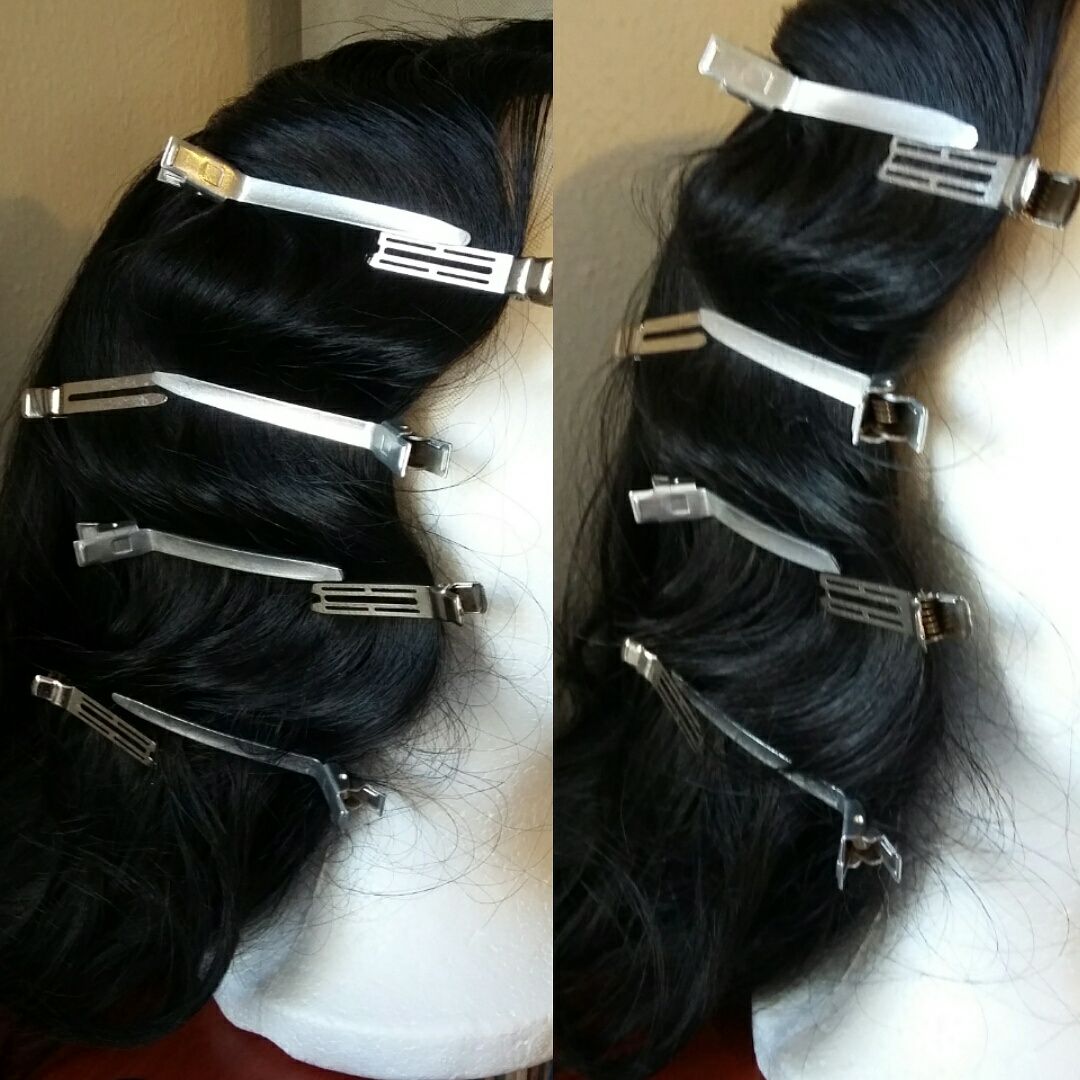
I did some light styling on the wig the day before, just some soft fingerwaves around the face, but they ended up kind of ineffective and disappeared.
And a few months ago I made a cleaver to carry around. I started with a funky Halloween prop I got at KMart, and as usual I didn't document much of the mod process. But I basically used a Dremel to alter the cleaver's shape and smooth the surface (and added a hole in the handle to attach a ribbon for easy carrying), then resealed it with Plasti-Dip. In a strange turn of events, it was really fortuitous that red Plasti was all I had, because it's a gruesomely good color and texture match for the red ghosts. It was kind of disappointing to paint over it. Then I used alternating layers of sandable primer and Bondo to fill in the weird chips and grooves, sprayed it black as a base, did washes of acrylic for the final colors, and sealed it with a matte fixative. For being matte it still turned out kind of shiny, so I might go back and stipple on some more light paint to dull it down some.


Next time: Finished!
No comments:
Post a Comment